Currently Empty: $0.00
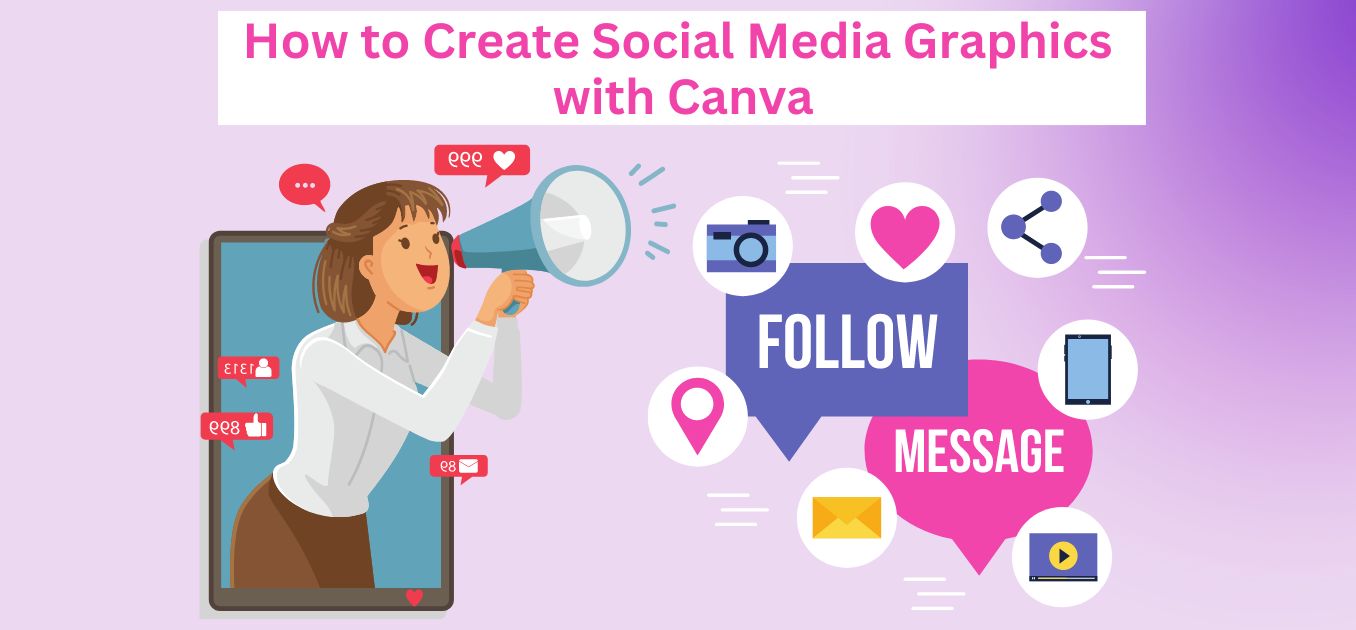
Mastering Social Media Graphics With Canva: A Complete Guide
Introduction:
As a marketer, you understand the importance of having eye-catching social media graphics that grab your audience’s attention and encourage them to engage with your brand. However, designing these graphics can be challenging, especially if you’re not a professional designer. This is where Canva comes in. Canva is a powerful design tool that makes it easy to create professional-looking social media graphics, even with no design experience. In this blog post, we’ll guide you through designing eye-catching social media graphics with Canva, step by step.
Why Use Canva for Social Media Graphics?
Canva is a popular design tool that has been used by millions of people around the world. It’s easy to use, even for those who have no design experience, and it offers a wide range of templates and design elements that you can use to create professional-looking social media graphics.
Steps to Create Social Media Graphics with Canva
Creating social media graphics with Canva is straightforward and user-friendly. Follow these steps to design stunning and professional graphics:
Step 1: Understanding Your Brand Identity
Before diving into the design process, it’s essential to have a clear understanding of your brand identity. This involves defining your brand colors, fonts, and overall visual style.
- Brand Colors: Consistency in color usage helps with brand recognition. Select a color palette that reflects your brand’s personality and stick to it across all your graphics.
- Fonts: Choose fonts that are both readable and aligned with your brand’s tone. Canva offers a vast selection of fonts, but it’s advisable to limit your choice to 2-3 fonts to maintain consistency.
- Visual Style: Decide on the visual elements that represent your brand, such as icons, shapes, and image styles. This will ensure a cohesive look across all your social media platforms.
Step 2: Setting Up Your Canva Account

To get started with Canva, you’ll need to create an account. Canva offers both free and Pro versions. While the free version is powerful, the Pro version provides additional features like premium templates, an expanded image library, and the ability to save brand kits.
- Brand Kit: The Brand Kit feature in Canva Pro allows you to store your brand colors, fonts, and logos. This makes it easy to maintain consistency across all your designs.
Step 3: Choosing a Template
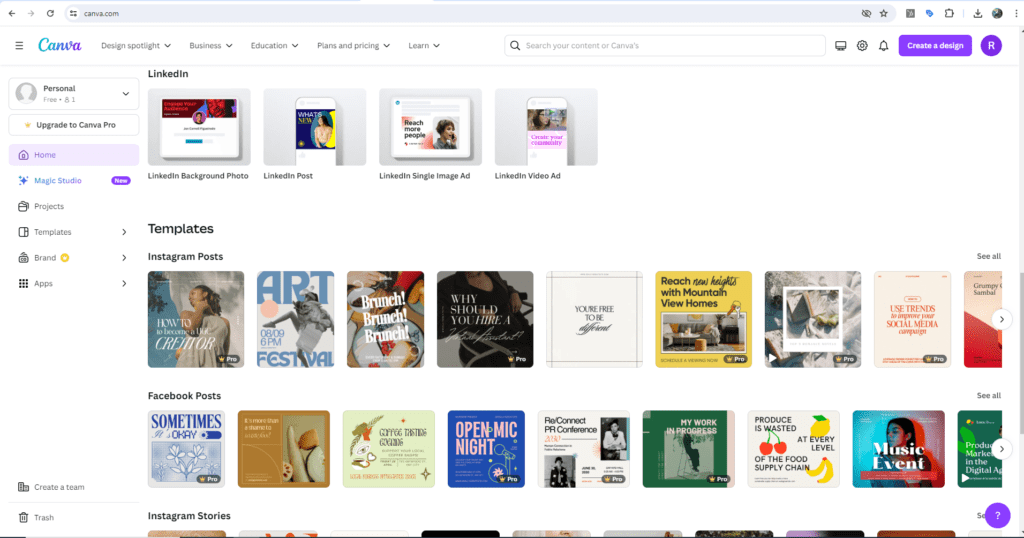
Canva offers a wide range of templates for social media graphics, including Facebook, Twitter, Instagram, and more. Choose a template that matches your brand’s style and start designing.
To choose a template, follow these steps:
- Log in to your Canva account and click on the “Create a Design” button.
- Select the “Social Media” category and choose the type of graphic you want to create (e.g., Facebook, Twitter, Instagram, etc.).
- Browse through the templates and choose one that matches your brand’s style.
- Click on the template to open it in the Canva editor.
Step 4: Adding Your Brand’s Logo
![]()
Next, add your brand’s logo to the graphic to establish your brand identity and make the graphic more recognizable.
To add your brand’s logo, follow these steps:
- Click on the “Uploads” tab in the Canva editor.
- Upload your logo file if it’s not already uploaded.
- Drag and drop the logo onto the graphic.
- Resize and position the logo as needed.
Step 5: Adding Text
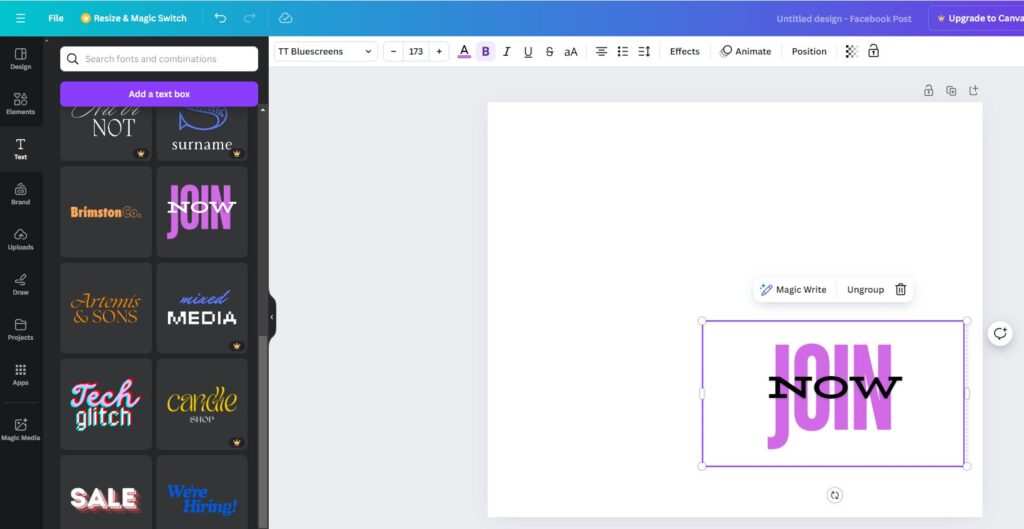
Adding text to your graphic can include your brand’s name, a slogan, or a call-to-action (CTA).
To add text, follow these steps:
- Click on the “Text” tab in the Canva editor.
- Choose the text style you want to use.
- Type in the text that you want to add to the graphic.
- Resize and position the text to fit the graphic.
Step 6: Adding Images
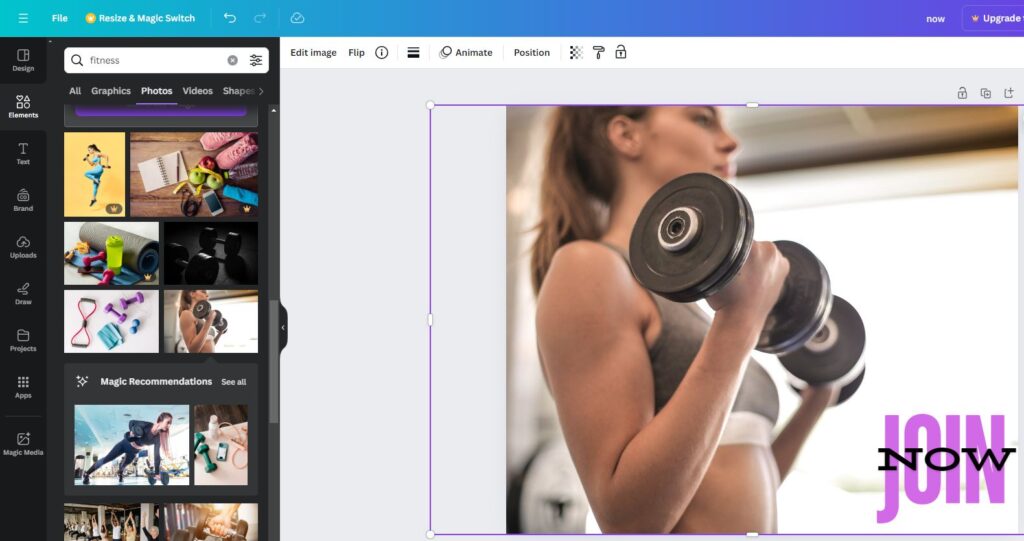
Incorporating images, such as photos, illustrations, or icons, can enhance your graphic.
To add images, follow these steps:
- Click on the “Elements” tab in the Canva editor.
- Search for images or select from the pre-existing options.
- Drag and drop the image onto the graphic.
- Resize and position the image as needed.
Step 7: Adding Graphics
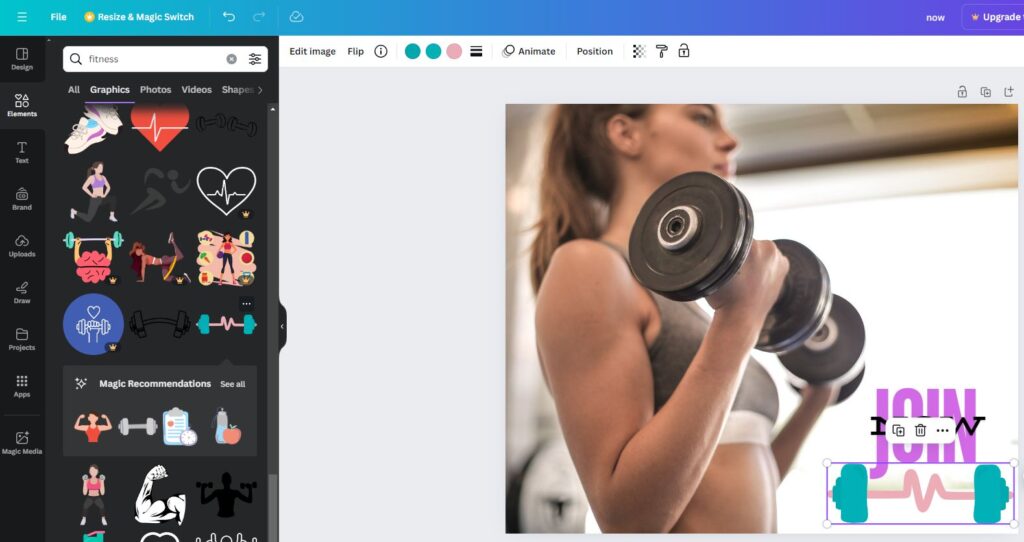
Adding graphics such as icons, shapes, and illustrations can further enhance your design.
To add graphics, follow these steps:
- Click on the “Elements” tab in the Canva editor.
- Search for graphics or select from the pre-existing options.
- Drag and drop the graphic onto the design.
- Resize and position the graphic as needed.
Step 8: Customizing the Graphic
Customize the graphic to fit your brand’s style by changing the colors, fonts, and text styles.
To customize the graphic, follow these steps:
- Click on the elements you wish to customize (text, shapes, background, etc.).
- Use the toolbar options to change colors, fonts, and styles.
- Ensure the overall design aligns with your brand’s visual identity.
Step 9: Optimizing for Different Platforms
Each social media platform has its own specifications for image dimensions and formats. Ensure your graphics are optimized for the platform you’re designing for:
- Instagram: Use square images (1080×1080 px) for posts and vertical images (1080×1920 px) for stories.
- Facebook: For cover photos, use 820×312 px and for posts, use 1200×630 px.
- Twitter: Use 1500×500 px for headers and 1024×512 px for posts.
- LinkedIn: Opt for 1584×396 px for cover photos and 1200×627 px for posts.
Step 10: Save and Share
The final step is to save and share the graphic. You can save the graphic as a PNG or JPEG file and share it on your social media channels.
To save and share the graphic, follow these steps:
- Click on the “Share” button in the Canva editor.
- Select the “Download” option and choose the file format that you want to use (e.g., PNG, JPEG, etc.).
- Share the graphic on your social media channels.
Step 11: Utilizing Canva’s Scheduling Tools
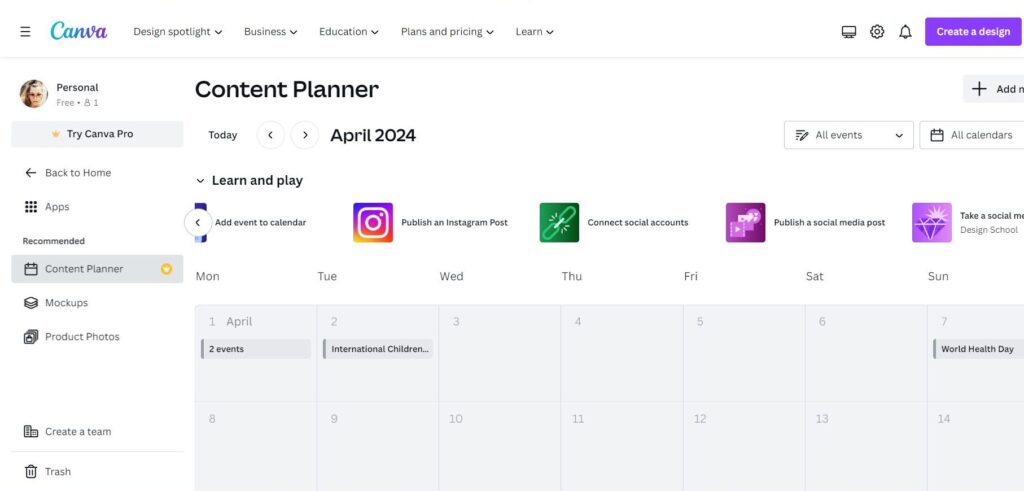
Canva Pro offers a content planner feature that allows you to schedule your social media posts directly from Canva. This tool helps you plan and organize your content in advance, ensuring consistent posting.
Step 12: Analyzing and Iterating
After posting your graphics, it’s important to analyze their performance:
- Track Metrics: Use social media analytics to track the performance of your posts. Look at metrics like engagement, reach, and click-through rates.
- Gather Feedback: Listen to your audience’s feedback and use it to improve future designs. Iteration is key to refining your social media strategy.
Tips for Specific Platforms
- Instagram: Focus on visuals, use stories for engagement, and maintain a cohesive feed.
- Facebook: Use eye-catching cover photos and event graphics.
- Twitter: Keep designs simple and clear, use headers effectively.
- LinkedIn: Maintain a professional look, use clean and minimalistic designs.
Conclusion
Designing eye-catching social media graphics with Canva is easy and fun. By following these steps and using Canva’s design elements, you can create professional-looking graphics that grab the attention of your audience and make them want to engage with your brand. Remember to keep it simple, use high-quality images, and ensure your designs align with your brand identity to create effective social media graphics.