Currently Empty: $0.00
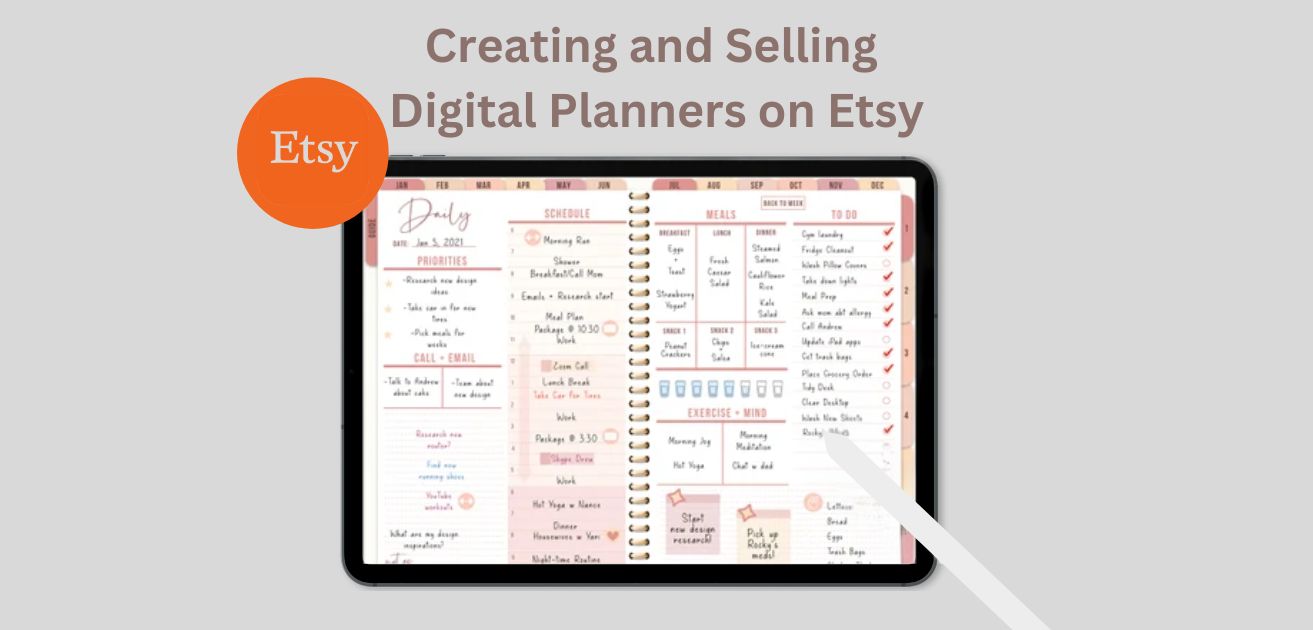
The Ultimate Guide to Creating and Selling Digital Planners on Etsy
Introduction:
In today’s fast-paced world, digital planners are essential for staying organized, boosting productivity, and efficiently achieving personal and professional goals. Whether you’re a student, entrepreneur, or someone aiming to streamline daily routines, creating a digital planner tailored to your needs can significantly enhance your organizational skills and workflow management. This comprehensive guide will walk you through the process of creating and selling your own digital planner—from initial planning to execution—covering essential design principles, recommended tools, and practical tips to help you get started with selling digital planners on Etsy.
Why Create a Digital Planner?
Digital planners offer several advantages over traditional paper planners. They are:
- Accessible: Access your planner anytime, anywhere, from multiple devices.
- Customizable: Tailor your planner’s layout, sections, and features to suit your specific needs.
- Interactive: Incorporate interactive elements like checkboxes, hyperlinks, and multimedia for enhanced functionality.
- Environmentally Friendly: Reduce paper waste and contribute to sustainable practices.
How to Create a Digital Planner to sell on Etsy?
Creating a digital planner is an excellent way to support individuals in staying organized and productive. With the growing popularity of digital tools and the rising demand for customized planners, selling digital planners on Etsy presents a promising side hustle opportunity. Let us guide you through the steps to create a digital planner that is optimized for selling on Etsy.
By following these steps and using the right tools, you can create a personalized digital planner that suits your needs and helps you stay organized.
Step 1: Plan Your Planner
Before you start designing your digital planner, it is essential to plan out the content and structure. Determine the sections and features you want to include, such as:
- Yearly Planner: A calendar view of the entire year, often used for long-term planning and goal setting.
- Monthly Calendar Spread: A two-page spread showing the entire month, often used for scheduling appointments and events.
- Monthly Planner: A detailed view of the month, often used for tracking tasks and deadlines.
- Weekly Planner: A detailed view of the week, often used for scheduling tasks and appointments.
- Daily Planner and Schedule: A detailed view of the day, often used for tracking tasks and appointments.
- To-Do List: A section for writing down tasks and reminders.
- Habit Tracker: A section for tracking daily habits and routines.
- Meal, Water, and Exercise Tracker: A section for tracking daily habits related to health and wellness.
Decide on the number of pages and sections you need based on these features. This will help you stay organized and ensure that your planner is comprehensive and user-friendly. Consider the following factors when planning your planner:
- Target Audience: Who is your planner designed for? Different age groups, professions, or interests may require different features and layouts.
- Design Style: What design style do you want to use? Modern, minimalist, or traditional, each style has its own unique aesthetic and functionality.
- Functionality: What features do you want to include? Hyperlinks, tables, or illustrations can enhance the user experience.
Step 2: Choose a Design Tool
There are several design tools you can use to create your digital planner. Some popular options include:
- Canva: A user-friendly and accessible tool with a wide range of templates and design elements. Canva is ideal for beginners and those who want to create a planner quickly.
- Adobe Photoshop: A powerful tool with advanced features, but requires more expertise. Photoshop is ideal for those who want to create a custom design from scratch.
- Adobe Illustrator: A vector graphics editor ideal for creating custom illustrations and designs. Illustrator is ideal for those who want to create a unique and custom design.
- Planify: A dedicated planner design tool with a variety of templates and customization options. Planify is ideal for those who want to create a planner quickly and easily.
- Creative Market: A marketplace for buying and selling digital products, including planner templates. Creative Market is ideal for those who want to create a planner quickly and easily.
Step 3: Designing Your Digital Planner
Layout and Sections:
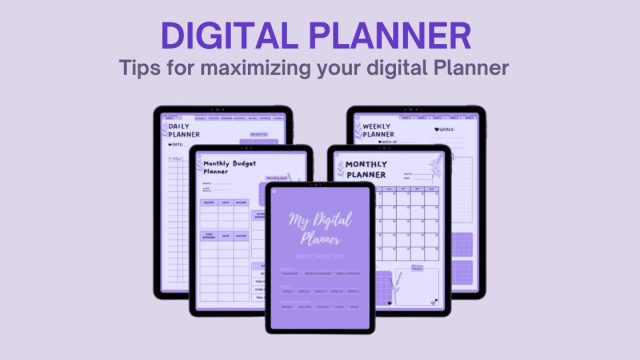
- Monthly, Weekly, and Daily Views: Design templates for different timeframes to organize tasks and appointments effectively.
- Goal Tracking: Include sections for setting and monitoring personal or professional goals.
- Notes and Ideas: Allocate space for jotting down thoughts, brainstorming sessions, or project notes.
Create Document:
Using your chosen design tool, create a new document with the desired dimensions. For a standard A4 size, you can use the following settings:
- Width: 210 mm
- Height: 297 mm
- Orientation: Portrait
Add a cover page with a title and any other design elements you want to include. You can use pre-made templates or create your own design from scratch.
Customizing Templates and Pages:
Consider the following design elements:
- Color Scheme and Themes: Choose a color palette that reflects your style and enhances readability.
- Fonts and Typography: Select fonts that are easy to read and complement your planner’s aesthetic.
- Functional Elements: Integrate interactive elements like checkboxes, dropdown menus, and tabs for seamless navigation and user interaction.
Step 4: Implementing Functional Elements
Adding Interactive Features:
- Hyperlinks: Create links between pages or sections for easy navigation within your planner.
- Checklists and To-Do Lists: Incorporate checkboxes for task management and completion tracking.
- Automation: Set up recurring tasks, reminders, and notifications to streamline your workflow.
Duplicate Pages:
- Instead of creating each page from scratch, duplicate the design and make minor adjustments as needed.
Step 5: Testing and Refining Your Digital Planner
Testing Usability:
- Ensure that your digital planner is intuitive and user-friendly. Test navigation, functionality of interactive elements, and overall layout coherence.
- Gather feedback from beta testers or colleagues to identify areas for improvement.
Personalization and Adaptation:
- Customize your digital planner based on user feedback and personal preferences.
- Update and refine templates, add new sections, or modify layouts as needed to optimize usability and productivity.
Step 6: Finalize and Export
- Final Checks: Ensure all links, buttons, and interactive elements function correctly.
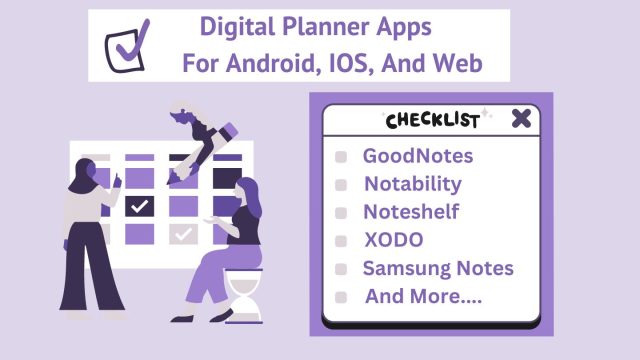
- Export Formats: Export your digital planner in formats compatible with your chosen distribution method (e.g., PDF for printing, GoodNotes file for digital use). Make sure to optimize the file size to ensure fast and smooth downloading.
- PDF: A popular format for digital planners, PDFs can be easily downloaded and printed.
- JPEG: A popular format for digital images, JPEGs can be easily downloaded and viewed.
- PNG: A popular format for digital images, PNGs can be easily downloaded and viewed.
Step 7: Set Up Your Etsy Shop
To sell your digital planner on Etsy, you need to set up an Etsy shop if you don’t already have one. This is a free process that takes only a few minutes. Once your shop is set up, you can create a listing for your digital planner and add photos, a description, and a price.
- Etsy Shop: Set up an Etsy shop if you don’t already have one.
- Listing: Create a listing for your digital planner and add photos, a description, and a price.
Step 8: Market Your Listings
To successfully sell your digital planner, you need to market your listings effectively. Use Etsy’s built-in SEO features to optimize your listings for search. You can also use paid ads and social media to promote your planners and reach a wider audience.
- Etsy SEO: Use Etsy’s built-in SEO features to optimize your listings for search.
- Paid Ads: Use paid ads to promote your planners and reach a wider audience.
- Social Media: Use social media to promote your planners and reach a wider audience.
Programs for Creating a Digital Planner
Several programs can be used to create a digital planner, including:
1. Keynote App:
- Available on Apple devices, this app is free and offers a range of options.
- Use Apple Pencil to draw and doodle.
- Add hyperlinks by selecting text or shapes and right-clicking to link to a specific slide.
2. PowerPoint by Microsoft:
- Available on desktop and mobile devices, including the iPad.
- Use templates to design a planner layout and add tabs and hyperlinks to the front page.
- Add hyperlinks by selecting text or shapes and right-clicking to link to a specific slide.
3. Google Slides:
- Use the shape tool to create the body of the planner.
- Add tables for calendars and create hyperlinks by selecting text or shapes and right-clicking to link to a specific slide.
4. Adobe InDesign:
- Create a document with the desired number of pages.
- Use the shape tool to create the body of the planner.
- Add tables and hyperlinks as needed.
Tips for Designing a Digital Planner
- Design your planner to fit your life and include calendars, to-do lists, and habit trackers.
- Use sticky notes to organize your planner pages and test different layouts.
By following these steps and using the right tools, you can create a personalized digital planner that suits your needs and helps you stay organized.
Additional Tips
- Research the Market: Understand current trends and popular keywords in the digital planner market to create products that are in demand.
- Use Print-on-Demand Services: If you want to sell physical copies of your planners, consider using print-on-demand services like Printful to handle production and shipping
.By following these steps and tips, you can successfully sell digital planners on Etsy and generate passive income.
Conclusion
Creating and selling digital planners on Etsy is a fun and rewarding project that can become a lucrative side hustle. By following these steps, you can create a comprehensive and user-friendly planner that meets the needs of your target audience. Remember to customize your planner, optimize your file size, and market your listings effectively to ensure success when selling digital planners on Etsy.


Comments are closed.