Currently Empty: $0.00
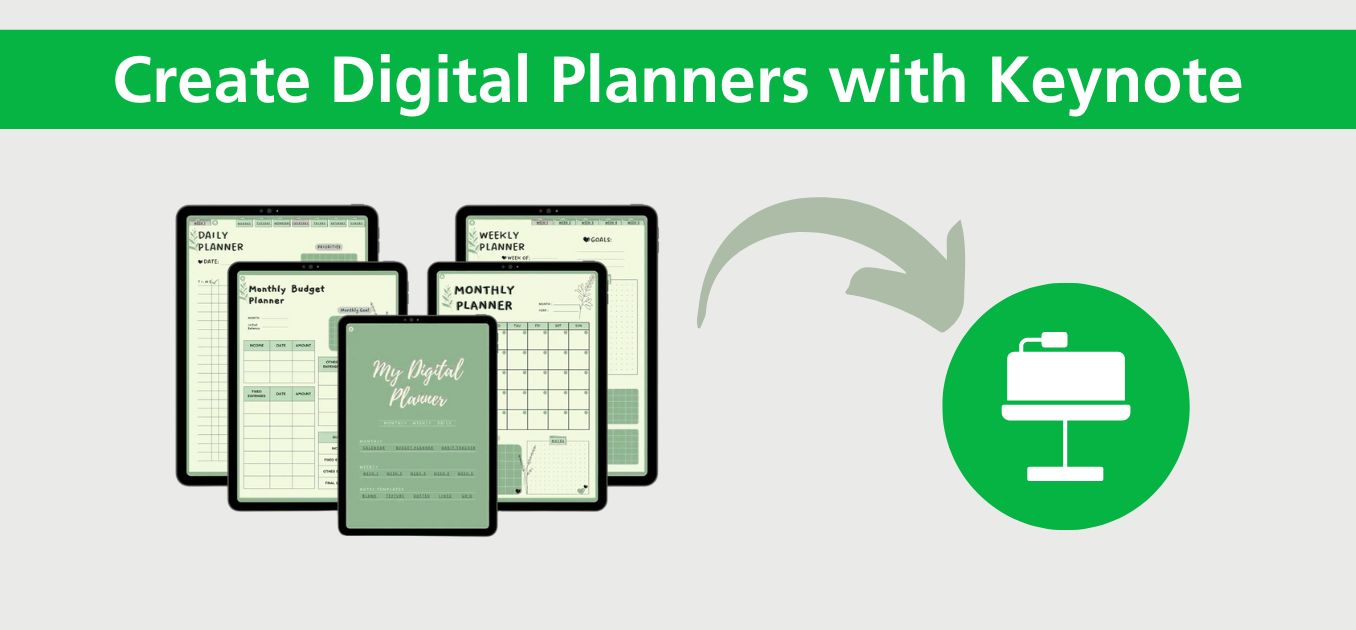
Step by step guide to Create Digital Planners with Keynote
Introduction
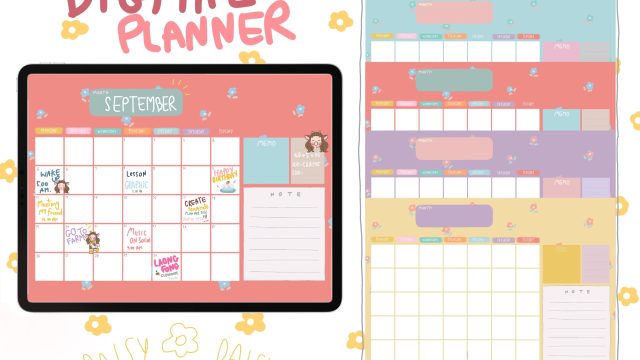
In this Blog post, we will delve into the powerful capabilities of Apple Keynote to create digital planners. Digital planners are an innovative way to organize tasks, schedules, and goals, and by leveraging Keynote, you can enhance user engagement through interactive elements. We will cover the basics of adding hyperlinks, interactive buttons, and multimedia elements to your digital planners. By the end of this blog post, you will have a comprehensive understanding of how to create digital planners with Keynote that are dynamic and engaging.
Understanding Keynote’s Interface
Before we dive into creating interactive elements, it’s essential to familiarize ourselves with Keynote’s interface. Keynote is known for its user-friendly layout, which makes it accessible to both beginners and experienced designers.
The toolbar at the top provides quick access to essential tools such as text, shapes, tables, and charts. The right-hand side panel changes contextually based on what element you have selected, offering customization options like font styles, colors, and animations.
Understanding where these tools are located and how to navigate the interface efficiently will streamline your design process and make adding interactive features more intuitive.
Setting Up Your Digital Planner
- Open Keynote: Select “Basic White” as your template.
- Set Slide Size: Go to Document > Slide Size and choose “Custom Size”. Set the dimensions to 1235 x 795 pixels for a horizontal planner layout.
- Customize Background: Delete the default text and set a background color or image. You can use a dot grid paper pattern for a bullet journal style planner. Rotate the image 90° and position it on the left side of the slide.
- Add Depth: Format a border and drop shadow around the edges in the Format > Style menu.
- Duplicate Slides: Create the front and back covers of your digital planner in Keynote..
Designing Planner Pages
-
- Plan Content: Sketch ideas for each page type in your digital planner created with Keynote.
- Build Pages: Use shapes, tables, and text to build out each page based on your sketches. Copy and paste pages to save time instead of recreating from scratch.
- Add Tabs: Create a table of contents and navigation with tabs in your Keynote digital planner. Use the shape tool to create rectangles, add a drop shadow, and layer a square on top.
- Customize Design: Use colors, fonts, and images that match your branding and style for your digital planners designed with Keynote.
Adding Interactivity with Hyperlinks
Hyperlinks are a fundamental interactive element in digital planners, enabling users to navigate between different sections or to external websites. For internal navigation within the planner, linking to specific slides is particularly useful. This can create a seamless user experience where users can jump to different sections like monthly calendars, weekly layouts, or task lists. For external resources, hyperlinks to websites or email addresses can provide additional functionality and information.
- Select a tab shape and go to the Hyperlink section in the Format sidebar. Choose “Go to Slide” and select the corresponding planner page to link to’.
- Repeat this process for each tab to create a clickable table of contents. Test the hyperlinks by holding Command and clicking on a tab to jump to the linked page
- Add hyperlinks to any text or images that you want to be clickable, like section dividers or buttons. This allows users to navigate the planner by tapping on interactive elements.
- Test all hyperlinks thoroughly to ensure the planner flows logically and all links work as expected.
When adding hyperlinks, it’s crucial to ensure they are clearly indicated, either through underlined text or distinct button designs, so users can easily identify and use them. Testing each link to ensure it redirects correctly is also vital for maintaining a professional and functional planner.
Creating Interactive Buttons
Interactive buttons can greatly enhance the usability of your digital planner. In Keynote, buttons can be created using shapes, images, or text boxes. Once you have designed your button, you can add actions to it, such as navigating to a different slide or opening a web link.
To add an action to a button in your presentation, follow these steps:
- Select the Button: Click on the button you want to add an action to.
- Open Format Panel: Go to the ‘Format’ panel, usually found in the toolbar or menu.
- Add Action:
- Choose ‘Add Action’ from the available options.
- Select Action Type:
- Go to Slide: Link the button to another slide within the presentation for clickable navigation.
- Play a Sound: Choose a sound to play when the button is clicked.
- Open a Hyperlink: Input the URL to open a web page.
- Start a Slideshow: Begin a slideshow from a specified slide.
Customizing the appearance of your buttons is also important. Use consistent colors and styles to maintain a cohesive look throughout your planner. Adding subtle animations can also make the buttons more engaging. For instance, a slight bounce or color change on hover can make interactions more intuitive and visually appealing. By following these steps, you can easily enhance your presentation with interactive buttons.
Incorporating Multimedia Elements
Digital planners can be further enhanced by incorporating multimedia elements, such as audio, video, and interactive content. These elements can help users stay motivated, learn new skills, or simply enjoy a more immersive planning experience.
Audio Recordings
- Use the built-in microphone on your device to record audio notes, affirmations, or guided meditations directly within your digital planner.
- Insert the audio file into your Keynote presentation and use the Hyperlink feature to create a play button that users can click to listen.
- Experiment with different audio formats, such as MP3 or M4A, to ensure compatibility across various devices and platforms.
Embedded Videos
- Find or create relevant video content, such as tutorials, inspirational messages, or productivity tips, that you can include in your digital planner.
- Upload the video to a hosting platform like YouTube or Vimeo, and copy the embed code.
- In Keynote, insert a video placeholder and paste the embed code to display the video directly within your planner.
- Adjust the size and positioning of the video to seamlessly integrate it into your planner’s design.
Interactive Elements
- Consider incorporating interactive elements, such as mini-apps or quizzes, to engage users and provide additional value within your digital planner.
- You can use web-based tools like Google Forms, Canva, or Genially to create interactive content and then embed it into your Keynote presentation.
- Experiment with different interactive formats, such as goal-setting trackers, habit-building challenges, or decision-making tools, to enhance the functionality of your digital planner.
Exporting Your Interactive Planner
- When your planner is complete, go to File > Export To > PDF. Choose “Best” image quality and save the PDF.
- The hyperlinks will be preserved in the PDF file, allowing users to click on tabs and interactive elements to navigate the planner on their devices.
- You can now upload your interactive PDF planner to sell or share with customers. Provide instructions on how to use the hyperlinked features.
By following these steps in Keynote, you can create professional-looking digital planners with clickable tabs and navigation. The PDF export preserves the interactivity for a seamless user experience on any device. With some creativity and planning, you can design engaging planners that help people stay organized digitally.
Testing and Refining Your Planner
Once you’ve added all your interactive elements, testing your digital planner is crucial. Navigate through the planner as a user would, clicking on hyperlinks and buttons, and playing multimedia elements to ensure everything functions correctly.
Collect feedback from potential users to identify any usability issues or areas for improvement. This can provide valuable insights into how real users interact with your planner and highlight any features that may need refinement.
Refining your planner based on testing and feedback will ensure that it meets the needs of your audience and provides a seamless, engaging experience. Regular updates and improvements can also keep your planner relevant and functional over time.
Conclusion
Creating interactive digital planners with Keynote allows you to design versatile and engaging organizational tools. By understanding Keynote’s interface and effectively using hyperlinks, buttons, and multimedia elements, you can create a dynamic planner that enhances user engagement.
Testing and refining your planner is essential to ensure its functionality and user-friendliness. As you become more familiar with Keynote’s features, you’ll be able to create increasingly sophisticated and interactive planners.
This blog post has provided you with the foundational knowledge to start creating your own interactive digital planners using Keynote. Continue experimenting with different elements and designs to discover what works best for your specific needs and preferences.